If you’ve ever felt overwhelmed by the chaos of preparing 1099s—comparing vendor lists, running multiple reports, and double-checking data—you’re not alone. That’s why I’m excited to share a game-changing solution: the Step-by-Step Guide to Generating a 1099 Custom Report with QuickBooks Online Advanced. This powerful feature brings together all the key information—vendors, accounts, and 1099 statuses—into one streamlined report. It saves time, reduces errors, and makes your workflow smoother. Let’s explore how you can take advantage of this tool and simplify your 1099 process!
Step 1: Create a Custom Report in QuickBooks Online Advanced
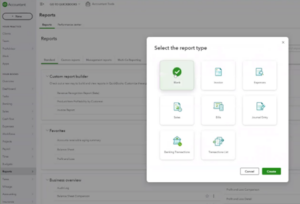
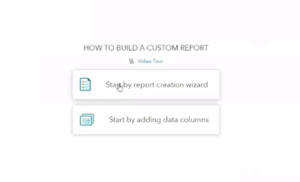
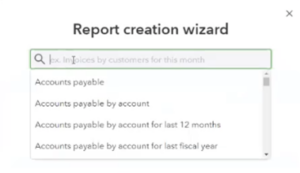
To get started with generating a 1099 custom report in QuickBooks Online Advanced, navigate to the Reports tab in your account. Click Create a new report, select Blank Report, and let the wizard guide you through the setup process.
Step 2: Set Up for 1099 Reporting
For 1099-specific data, select Expenses from the previous year. This ensures your report captures all necessary vendor transactions within the appropriate time frame.
Step 3: Customize the Report Columns
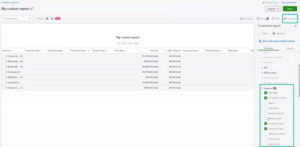
One of the best features of QuickBooks Online Advanced is its customizable columns. Under the Customize tab, you can streamline your report by excluding unnecessary columns, such as Due Date, Transaction Number, Customer Name, Product, Class, and Open Balances.
Next, add the columns Track 1099 and 1099 Printed to include vital vendor information.
Step 4: Organize Data by Vendor Name
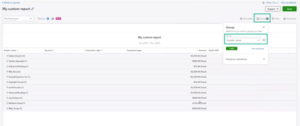
For better clarity, group the report by Vendor Name instead of Account. This adjustment organizes your report and makes it easier to see which vendors are set up for 1099 tracking.
Step 5: Apply Filters and Share the Report
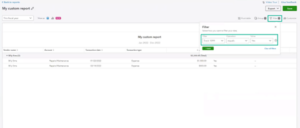
To finalize, apply filters to include only vendors marked as Track 1099. Afterward, send the report to your client for review. This saves time and ensures accuracy before filing.
Bonus: Convert the Report into a Pivot Table
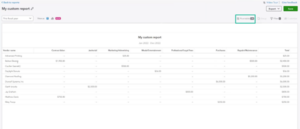
Want to take it a step further? QuickBooks Online Advanced allows you to turn this report into a pivot table. With this feature, you can organize accounts by vendor or customize views according to your client’s preferences.
Why Generating a 1099 Custom Report in QuickBooks Online Advanced is a Game-Changer
The flexibility and customization options in QuickBooks Online Advanced make generating 1099 custom reports effortless. By consolidating key details into one report, you can streamline the 1099 process, save time, and provide clear information for client approvals.
Want to see this guide in action? Watch the Step-by-Step Guide to Generating a 1099 Custom Report with QuickBooks Online Advanced demonstration here: Click to watch now!
In conclusion, if you’re looking for more tips and tricks to make QuickBooks work smarter for you, be sure to check out my collection of QuickBooks how-to articles on my website.


